How To Replace The O-ring In a Pressure Washer Wand? (Guide 2020)
If you buy an item via links on this page, we may earn a commission. Our editorial content is not influenced by commissions. Read the full disclosure.
Avoid leaks caused by deteriorating o-rings. Here's how to replace the o-ring in a pressure washer wand!
No matter the quality of the o-ring that you buy, it'll eventually wear out; and worn out o-rings cause leaks at the fittings. You don't want to delay their repair.
Trust me!
I have once done this, and you don’t want to make the same mistake. Luckily, it's quick and easy to learn how to replace the o-ring in a pressure washer wand.
You can replace the o-ring in a pressure washer wand yourself. However, you must follow the appropriate steps in order to avoid any injuries and further damage to the fitting. Before you start removing the o-ring, you must thoroughly read a guide on how to replace the o ring in a pressure washer.
Want to know how to do it the easy way?
Check this out:
A Guide For Beginners
I have read several how to replace o rings in a pressure washer quick connect nozzle guides. However, there’s rarely one that is beginner-friendly. Thus, I have decided to summarize the steps in an easy-to-understand way.
Step 1: Prepare The Needed Tools.
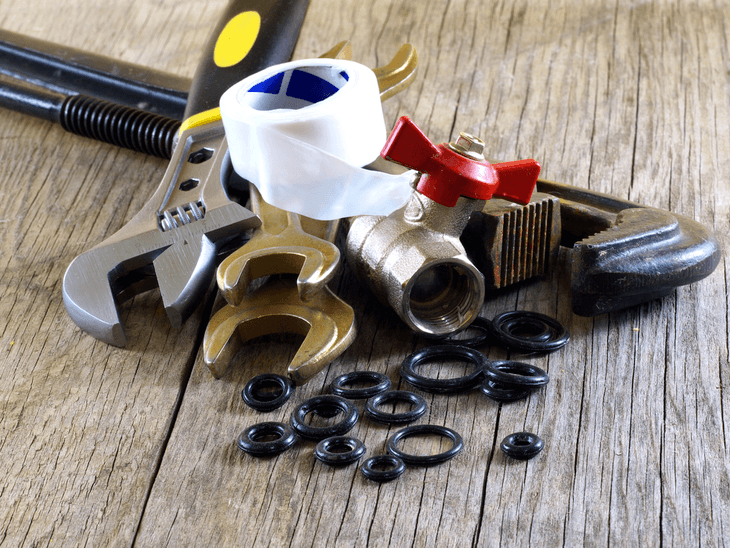
It will take about 10-30 minutes to finish replacing the o-ring for pressure washer wand. However, if you don't use the right tools, it might take a longer time. Aside from the o-ring, you need tabletop vise grip, wrench, silicone lubricant, screwdriver, and nose flier.
Step 2: Consider Your Safety.
Undertaking any kind of repair work can be dangerous. No matter how confident you are with your skills, you must take the necessary precautions to avoid hurting yourself. This said, make sure that you wear hand gloves. If it is your first time to replace an o ring pressure washer wand, do not rush the process.
Step 3: Remove The Pressure Water Wand.
With the use of a wrench, remove the pressure water wand from the pump. Turn the wrench counter-clockwise to do this. Once done, place it safely on a table-top vise grip. Tighten the vise grip to secure it.
Step 4: Pull Out The O-ring.
Get a screwdriver and stick it into the o-ring. Slowly and carefully, pull out the o-ring until it's in the middle of the pressure washer wand. If possible, completely pull it out. If not, you can use a nose flier to finish the job.
And here’s a very important reminder:
Note that an o-ring that has completely deteriorated will break down inside the pressure washer wand. In which case, you need to make sure that you remove every piece out. This will take a longer time to do. Thus, it’s advisable that you learn how to replace the o-ring in a pressure washer wand before any big damage happens.
Step 5: Insert The New O-ring.
Check the o ring that you have. Is the o ring size for pressure washer wand the appropriate one? If it is, you can proceed to this next step.
It is impossible to insert the whole o-ring directly inside the pressure washer wand. This is because there is little difference between the circumference size of the washer wand opening and the rings. You have to put the o-ring one half at a time. Use a silicone lubricant to make this process easier.
Step 6: Reinstall The Pressure Water Wand.
Once you've inserted the o-ring inside the pressure washer wand, use your finger to make sure that it is seated well in the recess of the nozzle. Otherwise, there will still be a leak. When you’re sure that the o-ring is secure, connect the pressure water wand with the pump.
To watch the video tutorial, click the link below:
How to Change O-ring Easily and Fix Leaks
Problems When Replacing The O-ring
While beginners are capable enough to replace the o-ring by themselves, the task is still better left off with professionals. Why? There are a lot of problems you might encounter during and after inserting the O-ring to the pressure washer hand.
Here are some of these problems:
When you do the repair without any prior experience, you take the risk of experiencing these problems. How do you avoid them? It’s best that you do your first o-ring replacement under the supervision of a more experienced repairman.

When replacing the o ring, using the right plumbing tools is very important
Conclusion
Sure, it can be time-consuming to replace o ring in a pressure washer. However, the danger of delaying the job is worse than the hassle of doing it. If you want to avoid paying for unnecessary water cost, you need to practice how to replace the o-ring in a pressure washer wand.
Read more:
TOP 5 most viewed articles in month
In compiling a top-5 list of this month's most popular articles:

