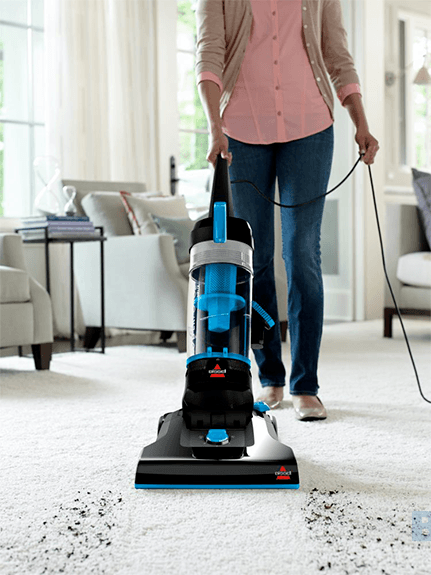
Quick Guide: How to Take Apart a Bissell Vacuum?
If you buy an item via links on this page, we may earn a commission. Our editorial content is not influenced by commissions. Read the full disclosure.
For those who own a Bissell Vacuum at home, you’ve probably thought about how helpful it is every time you clean the room. It is, after all, designed to effectively keep your home free from dust, making it clean and fresh.
However, once in a while, a Bissell Vacuum needs cleaning too. If you start noticing that it stops sucking dust properly, then chances are it needs to be opened apart for inspection and cleaning. Sure, you can go to a repair shop or take advantage of your vacuum’s warranty. However, not every one of us has the money and time to do so.
If you’re one of these people, then don’t fret as there is still a way to salvage your Bissell vacuum. You just have to learn how to take apart a Bissell Vacuum though. Luckily, it’s not that difficult. Below are some tips that will guide you on how to take apart a Bissell Vacuum:
Read your Bissell Vacuum’s Manual
The first thing you should do is to find your Bissell Vacuum’s manual. While most Bissell Vacuums have similar mechanisms, it’s still safer to consult your manual first. Doing this will lessen your chances of damaging your vacuum. Plus, manuals will provide suggestions as to how you’re going to clean your vacuum, so you’re more likely to be prepared in the future.
If you don’t have your manual anymore, try finding the exact copy of the manual online. You can also search for resources online.
Find a Working Area and Gather Your Supplies
Taking apart the vacuum can be a messy procedure, so find a suitable working area first. An open area would do. Use an old sheet that you can lay on the floor. This will act as your workbench. Next, gather the needed supplies:
- Flat-head screwdriver
- Cross-point screwdriver
- Pliers
- Small bowl
- Scissors
- Sturdy comb
- Lint-free cloths
- A bucket with warm water and dish soap
- Latex gloves and a dust mask

Take Apart Your Bissell Vacuum
To start, remove all of the detachable parts on the vacuum. Place the detached parts in the bucket with warm sudsy water. Use the appropriate screwdrivers to remove the screws on the vacuum. To avoid losing them, place all of the screws in the small bowl. Once done, open the case.
Inside, you’ll see a bag and a belt. Remove them for cleaning. Place them in the warm sudsy water as well after removing the dust and the dirt inside. If your vacuum does not have a bag, you can wash the dust storage or canister right away.
Wash Each Vacuum Part Thoroughly
Wash everything in the bucket with warm sudsy water. Once done, dry them by using the lint-free cloth. For the vacuum’s brushes, use a comb to remove any dust and other particles. If there are tangled hair or strings inside, use your scissors to cut them away.
Put the Parts Together
Once everything is clean, place all of the internal parts inside the vacuum before you start closing it. For those vacuum with a bag, place the fresh bag inside. During this part, before you close the vacuum with the screws, be sure to check if all parts are properly intact.
The steps above are quite simple, but they’re effective and are applicable to almost all types of Bissell Vacuum. However, if you’re not confident enough that you’ll be able to pull this process off, don’t hesitate to ask help from a friend or hire a technician.
Related Posts:
TOP 5 most viewed articles in month
In compiling a top-5 list of this month's most popular articles:

